GHECS Host Overview Page Explained: A Complete Visual Guide
Ghecs
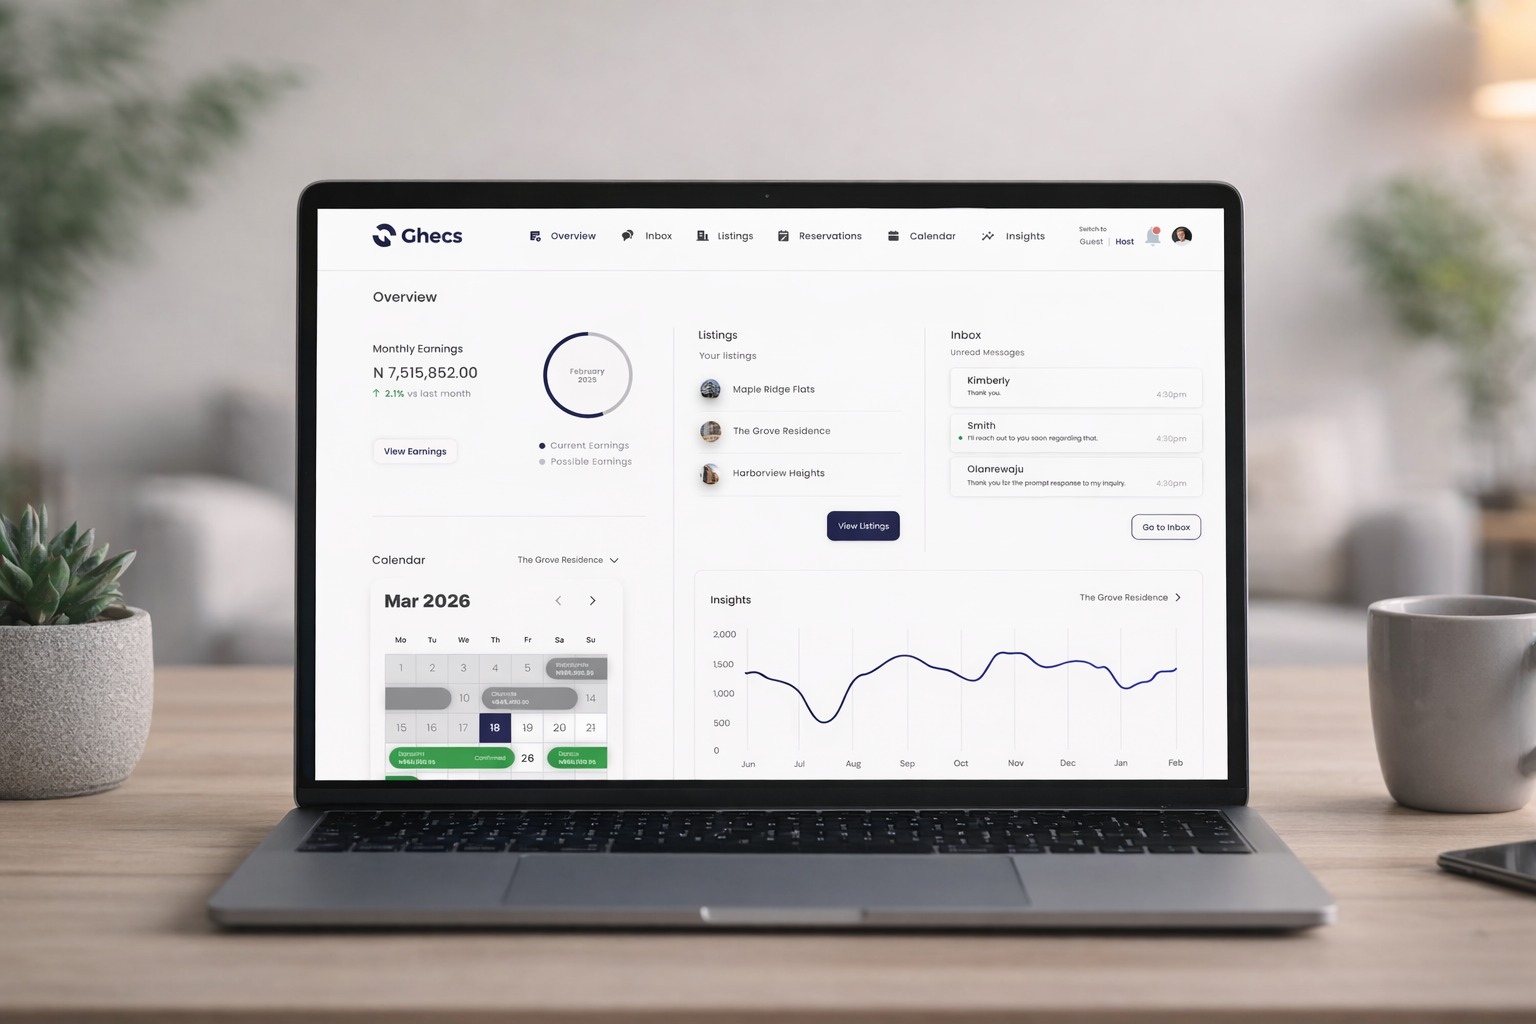
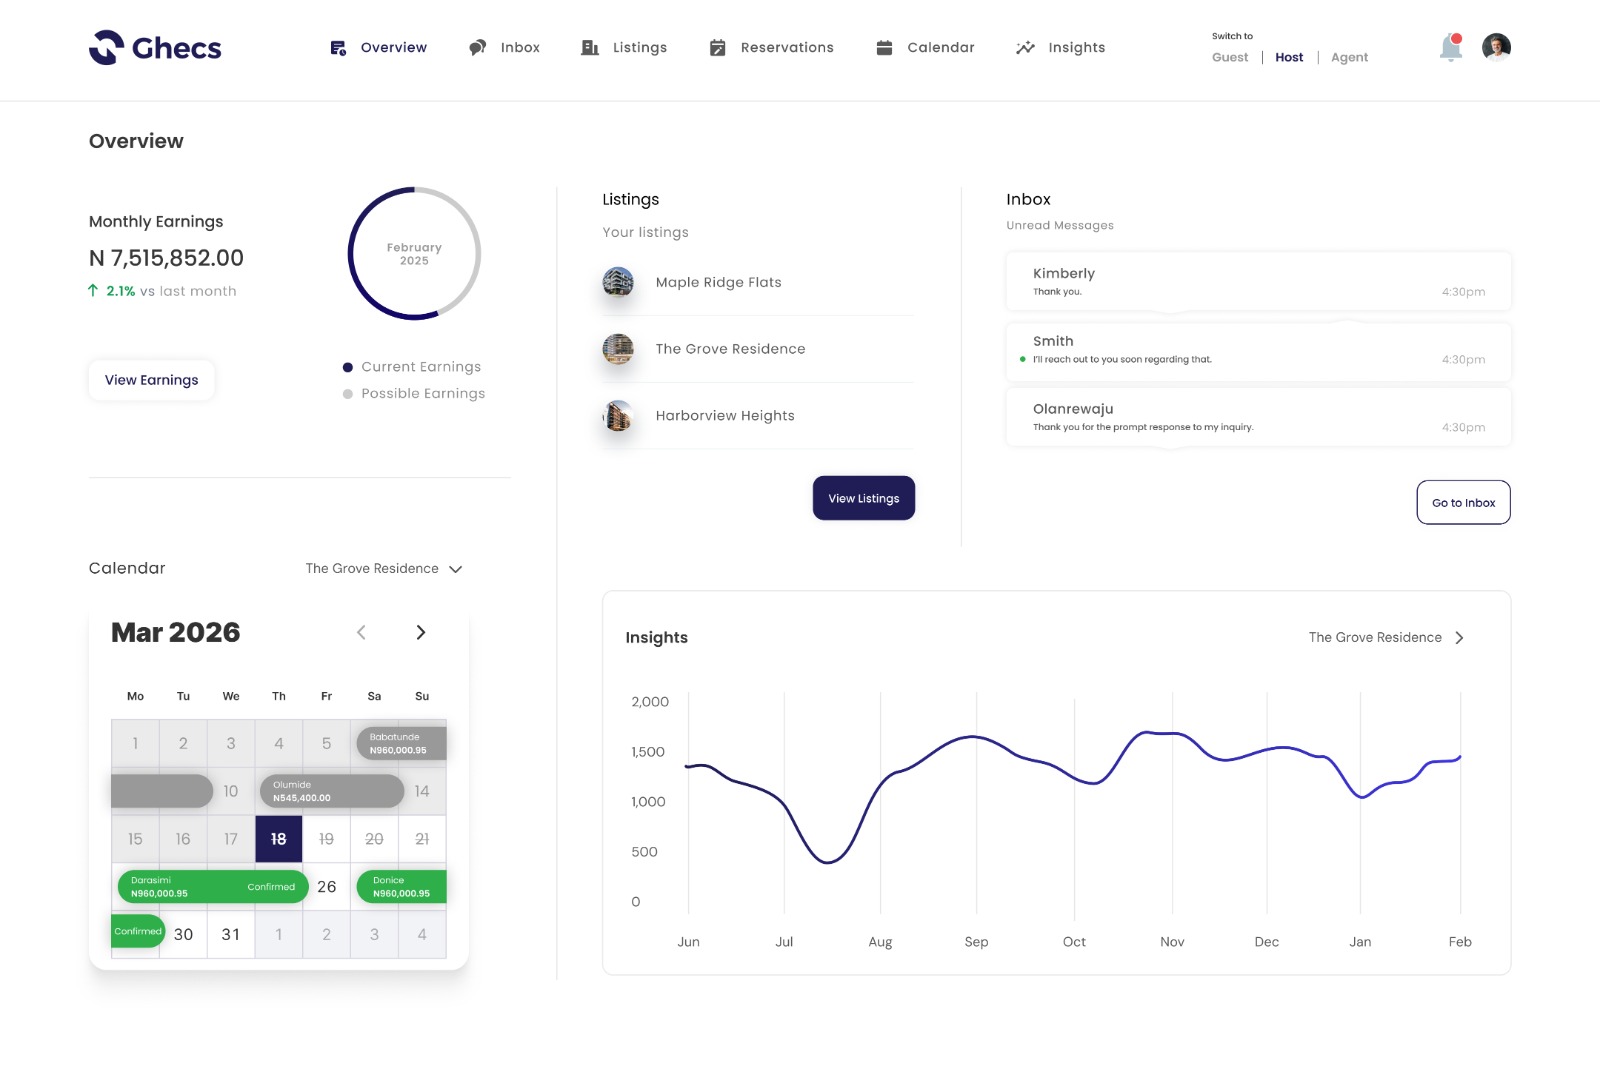
The moment you switch to Host mode on Ghecs, you land on the Overview page your hosting home base. It's designed to surface everything that matters without you having to dig through menus.
This guide walks through every panel on that page, what it shows, and how to use it with real screenshots so you know exactly what to look for.
What the Overview page looks like
1. Top Left · Monthly Earnings
Monthly Earnings - The Monthly Earnings panel is the first thing you see in the top-left area of the Overview page. It shows your total payout for the current calendar month in Nigerian Naira (₦), alongside a circular dial that displays the current month and year at its centre.
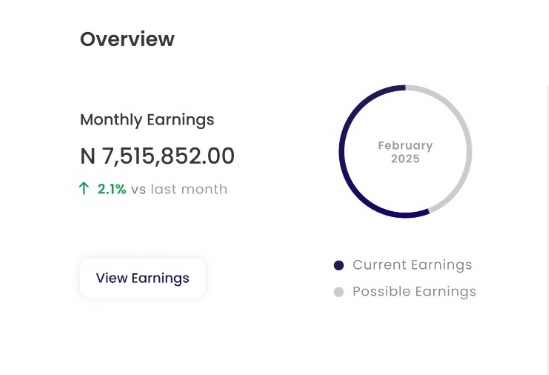
If the figure reads ₦0.00, it means no completed, paid-out stays have been recorded for that month yet. Upcoming or in-progress reservations won't appear here until the guest has checked out and payment has been processed.
Tap "View Earnings" to open your full earnings history, broken down by property, month, and payout status
Good to know: Earnings only update after a stay is completed. Active reservations will appear once guests check out.
2 . Centre · Listings
Listings Panel - The Listings panel sits in the centre of the Overview page and gives you a quick summary of every property you have active on Ghecs
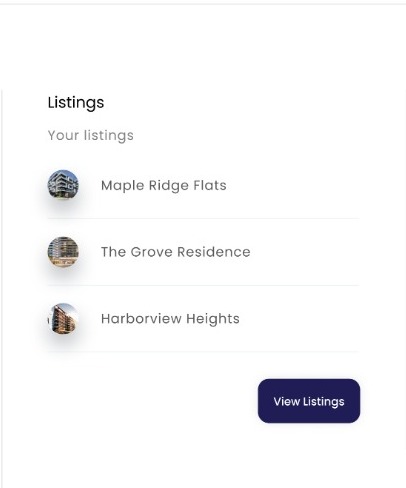
This panel is a quick-reference view not a management area. Its purpose is simply to show which properties are live. Each listing displays its name and photo thumbnail.
💡Pro tip: A grey placeholder circle means the property has no cover photo. Listings with real photos get significantly more bookings.
3 . Top Right · Inbox
Inbox Preview - On the right side of the Overview sits your Inbox preview. It surfaces your most recent guest conversations with message snippets and timestamps so you can stay on top of communications without leaving the dashboard.
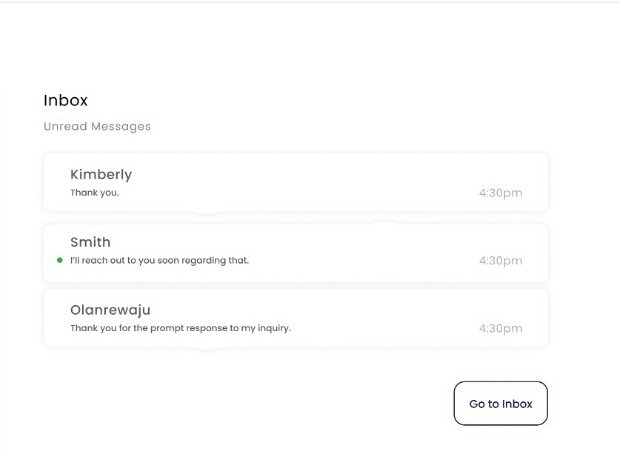
The Inbox panel on Overview is read-only. To reply, click the message preview or hit "View Inbox" to manage all conversations.
4. Bottom Left · Calendar
Calendar - The Calendar panel sits in the bottom-left of the Overview page. It shows a full monthly calendar for whichever property you select, letting you see booked dates, free nights, and navigate between months using the arrow buttons.
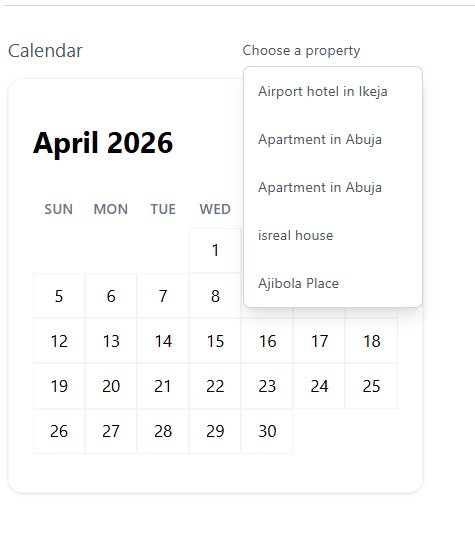
Once you select a property, any booked dates will appear highlighted on the calendar with the guest's name or a reservation marker.

Booked dates- appear highlighted with the guest's name visible on the calendar.
Clicking a reservation - takes you directly to that booking's full details, guest info, stay dates, and payment status.
Arrow buttons (← →) let you navigate months to plan ahead.
Tip :Full calendar management: The Overview calendar is a quick-reference view. To block dates, set custom pricing, or manage availability in detail, go to the Calendar section in the top menu bar
5. Bottom Right · Occupancy Rate
Occupancy Rate - At the bottom of the Overview page, the Occupancy Rate widget tracks what percentage of your available nights have been booked for a selected property one of the most useful performance metrics on the entire dashboard.
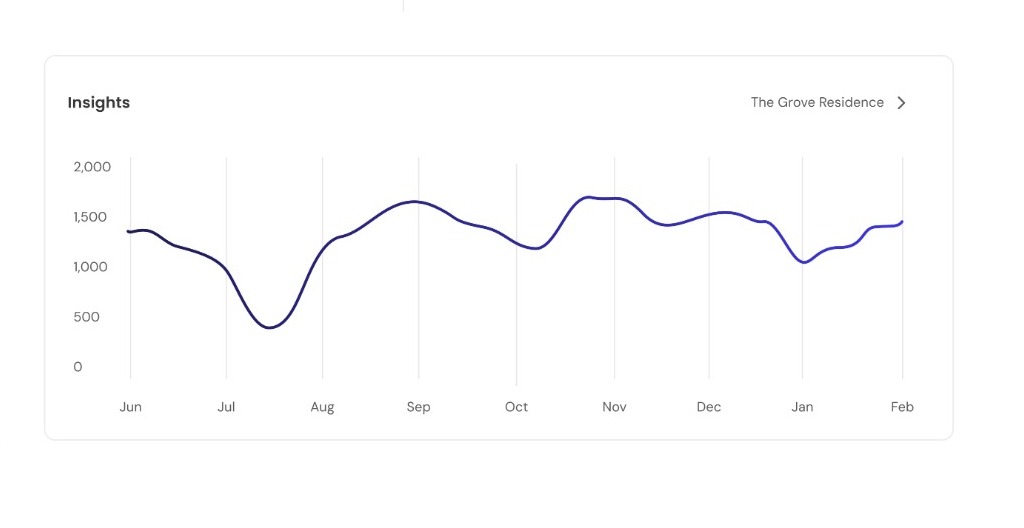
Click "Choose a property" on the right to filter the chart by a specific listing. The graph will display your occupancy trend helping you spot slow periods and measure the impact of any changes you make to your listing.
📊Benchmark: A healthy occupancy rate for short-stay properties is typically 60–80%. If yours is lower, review your pricing, refresh your photos, or update your listing description.
The GHECS Host Dashboard is designed to give you full control over your listings and bookings all in one place. Once you understand how each section works, managing your property becomes seamless and efficient.
Up Next: Managing Your Calender
Part 2 To block dates, set custom pricing, or manage availability in detail, veiw reservation det
Read Part 2 → Coming Soon